(Optional) Tenant Domain Setup for Reveal AI Standalone
The following steps review how to set up a Tenant Domain so that when users access Reveal AI Standalone the Domain for your “Tenant” on login will automatically be populated. These steps will involve DNS / IIS configuration updates.
You will first need to ensure that you have a DNS record. For example, lerner-nx1web1.nexlp.com.
Connect to your Reveal AI web server.
Open IIS.
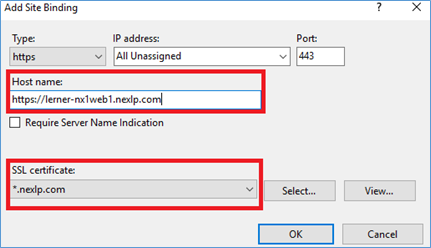
On your Default Web Site used by Reveal AI Add Site Binding for your DNS record. If you are using HTTPS you will need to create a valid SSL Certificate for the domain and associate it with the site binding.
Log on to the Reveal AI Front-End and navigate to the System Admin home page.
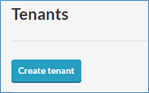
Under “System” on the left hand navigation click Tenants.
Choose Create Tenant.
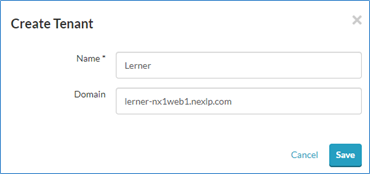
Fill out the Name you would like to use for your Tenant and the Domain of the DNS record that you created, then save the record.
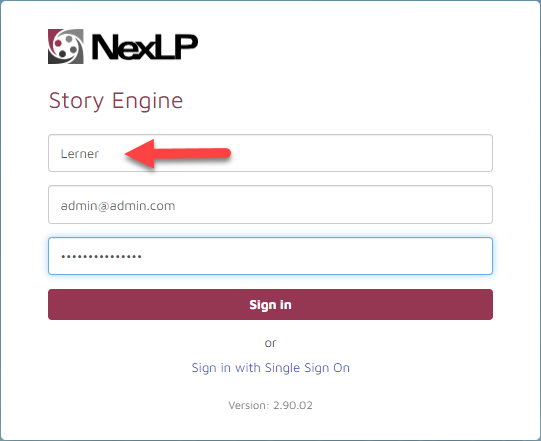
Once you have saved your choice, go to the Domain you have set up with your StoryEngineWeb application name appended to the URL. You should now see the “Tenant” field automatically filled out upon hitting that URL.