Review 10.1 - Reveal SSO Authentication Procedure
With the release of version 10.1 Reveal has standardized authentication across the platform to provide a uniform user experience and to take advantage of state-of-the-art federated authentication protocols. It authenticates with any service that supports standard protocols including OpenID Connect, OAuth 2.0, SAML, LDAP, Azure Active Directory, Google, and many others.
As a practical matter for users, Reveal's single sign-on (SSO) provides a single Reveal ID across all modules within the Reveal platform even if your firm still requires application-based authentication.
These protocols may be unfamiliar, so we have set out the steps below to help in getting set up for the first time. If you require further assistance in gaining access to the database please contact support@revealdata.com right away.
Reveal’s default option at present is to use an Authenticator application, usually installed on the user’s handheld device. See steps below for setting up a standard Google Authenticator option.
Note
The single sign-on app used doesn’t have to be Google Authenticator; it can be any application that supports the TOTP protocol. There are also desktop applications that support the TOTP protocol. A simple search on Google for “totp iPhone app” or “totp desktop app” will provide many options.
A company’s current SSO solution using SAML or OpenId Connect (OIDC) may be used for Reveal authentication. If SSO has already been provisioned, the IT group may have an interest in keeping authentication within the firm’s control. If this is the case, please contact Reveal at the above support link.
A. Standard Google Authenticator Setup
Download the Google Authenticator app to the mobile device of choice. On Android devices this will be found on Google Play; on Apple devices it may be accessed via the Apple Store.
Once installed, launch the application.
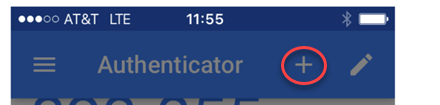
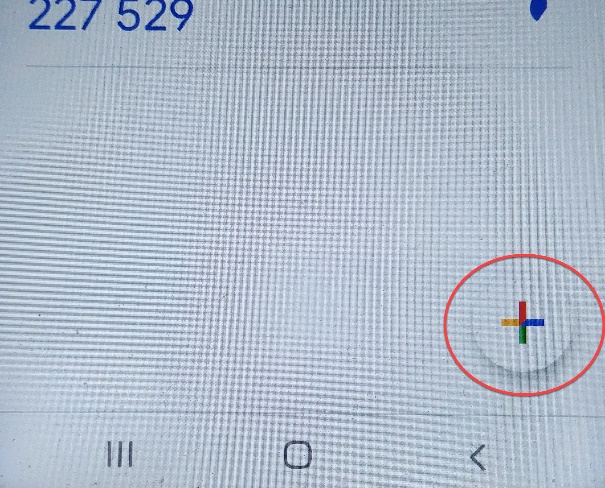
On your mobile device, open the Google Authenticator app and press the Add button (+) in the upper right of the screen in iOS (below left), or in the lower right of the screen in Android devices (below right).
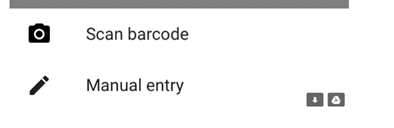
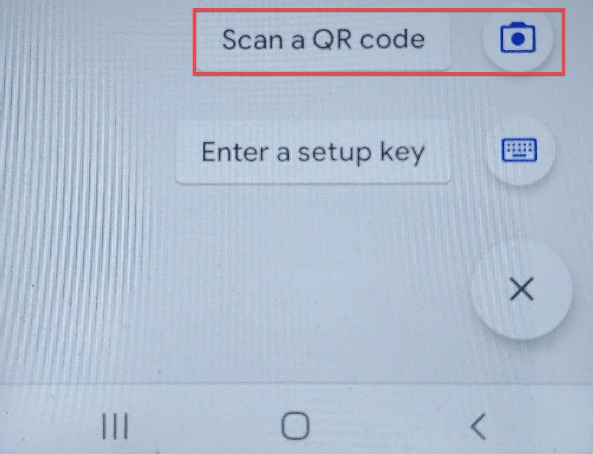
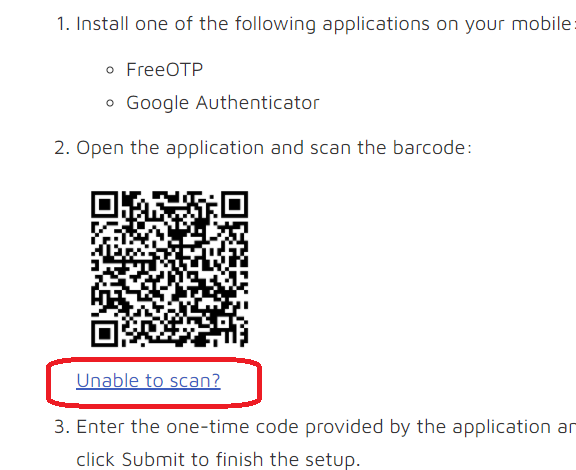
After clicking the Add button, choose Scan Barcode on iOS (below left) or Scan a QR code on an Android device (below right).
There is a QR code on the Reveal login page. Hold your phone’s camera up to the code to scan. See Section B, Standard WinAuth Desktop Authenticator Setup below if you are unable to scan the QR code or prefer using WinAuth on your computer.
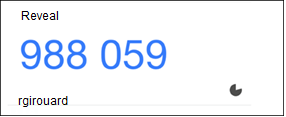
Once scanned, a Reveal-labeled entry with six-digit number will appear in the Google Authenticator application. This number, which will change every 30 seconds, will need to be entered at the login prompt to connect to the Reveal network.
Enter the code in the One-time code text box on the Reveal login page and add a device name. The example in this illustration is iphone, but you can assign any name to your authenticating device.
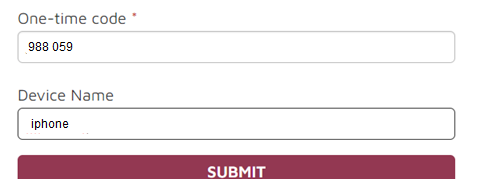
Click Submit.
Authenticator is now set up for Google Authenticator. Use the device on which it is installed to retrieve a time-sensitive code to log into Reveal.
B. Standard WinAuth Desktop Authenticator Setup
Download WinAuth application from https://github.com/winauth/winauth/releases.
Install application and launch.
The initial screen will look to set up an initial authenticator code.
On the Reveal login page, switch the QR code image to the secret code by selecting Unable to scan?
This will display the secret code and further instructions for WinAuth.

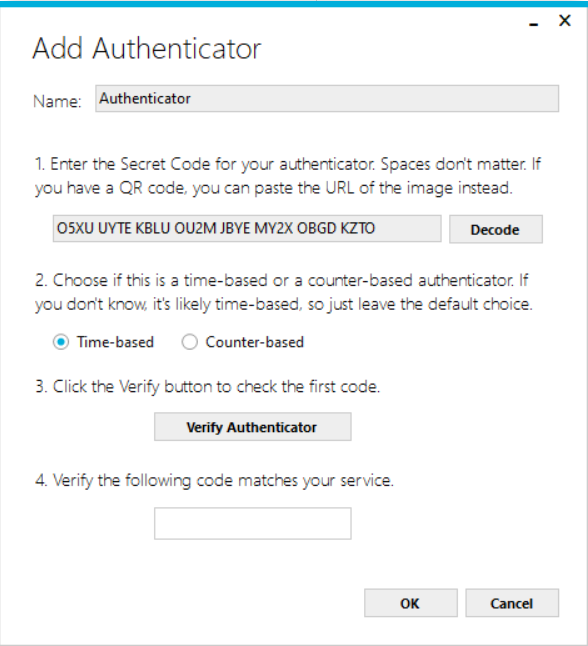
Open WinAuth and the 32-character key.
Use the indicated configuration values:
Type: Time-based
Algorithm: SHA1
Digits: 6
Interval: 30
Once the code is copied, keep “time-based” authenticator and click the Verify Authenticator button.
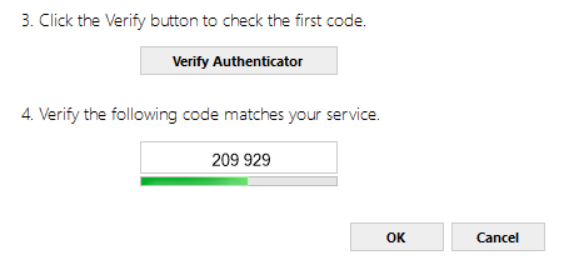
Type the code that is displayed into the One Time Code text box on the Reveal Login page and enter WinAuth in the Device Name.
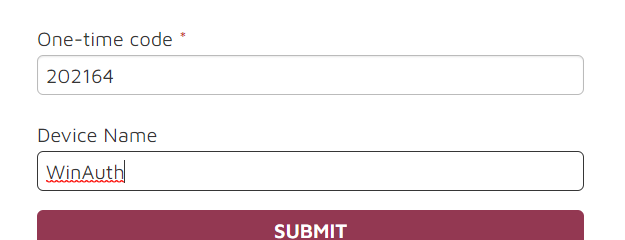
Click Submit.
WinAuth desktop has been successfully installed. Use this application during each login and use the code provided to access Reveal.
Note
These are but two examples of authenticators. There are other options that would work in a similar fashion (e.g., Microsoft Authenticator). Please let us know if you are having trouble configuring a different authentication method by contacting support@revealdata.com.