Groups
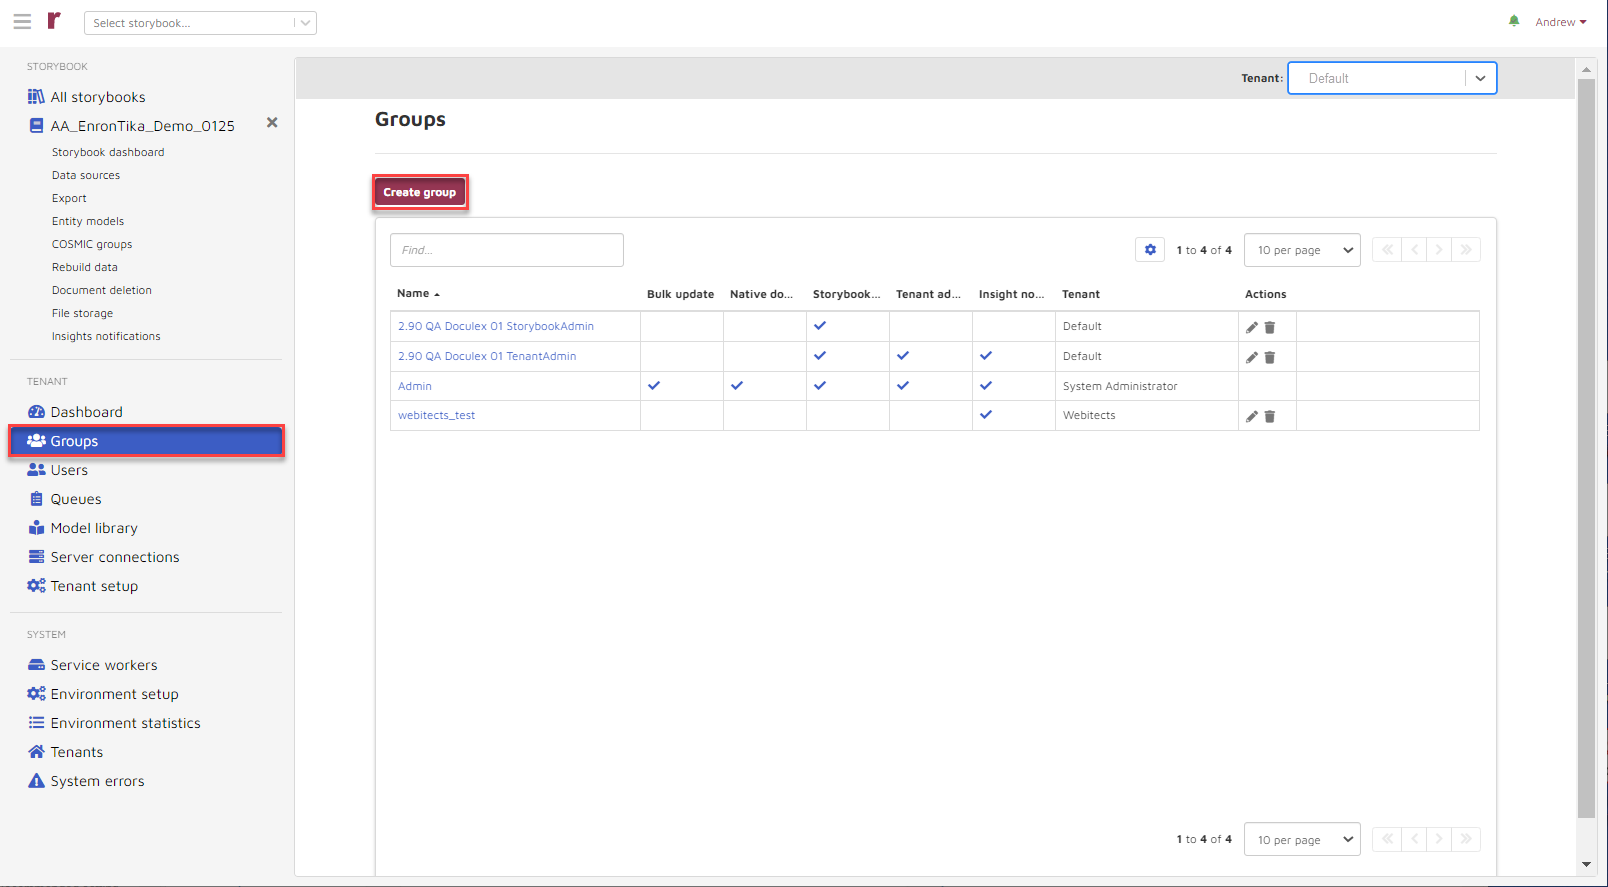
Choose Groups under Tenant Settings to create, edit or delete groups.

In order to create a group, a System Administrator would first choose the tenant from the “tenant switcher” dropdown list; a Tenant Administrator skips on to the next step:
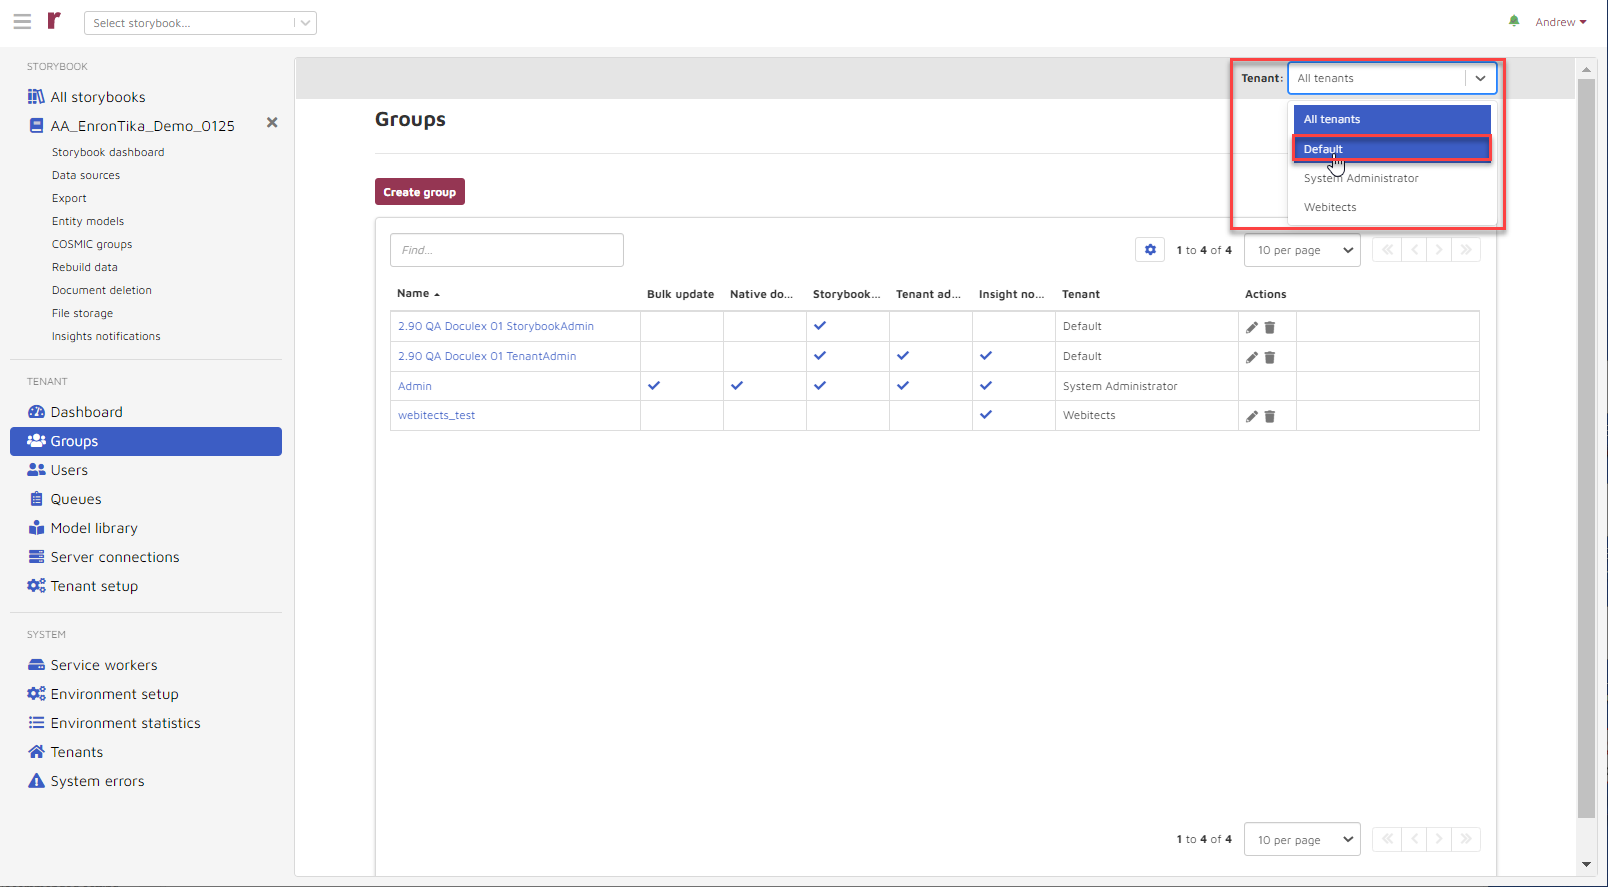
Then choose Create Group and…
…the Create Group window will appear:
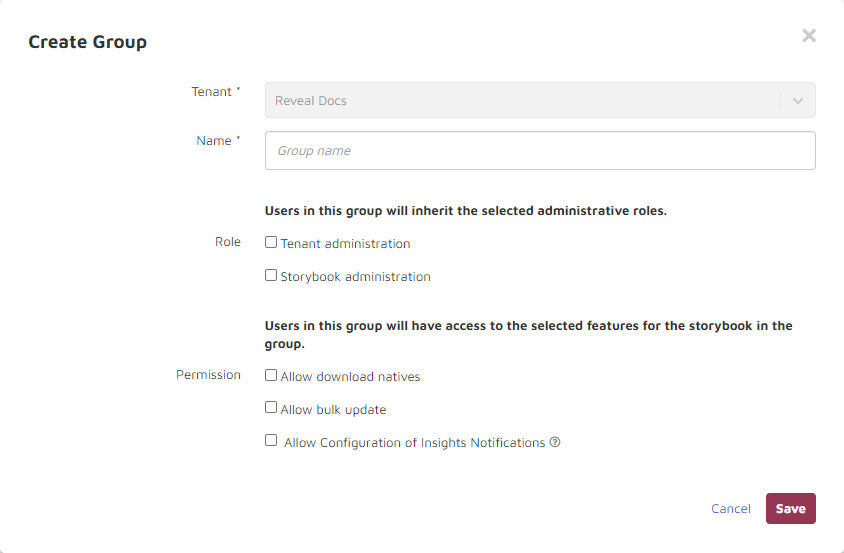
The following information is required:
Tenant: This is automatically provided.
Name: Choose a group name.
Role: Choose either Tenant or Storybook administration. If you choose Tenant administration you inherit all Storybook administration rights.
Permissions: Choose any of these permissions. If you have chosen Tenant administration you will inherit “Allow Configuration of Insights Notifications”.
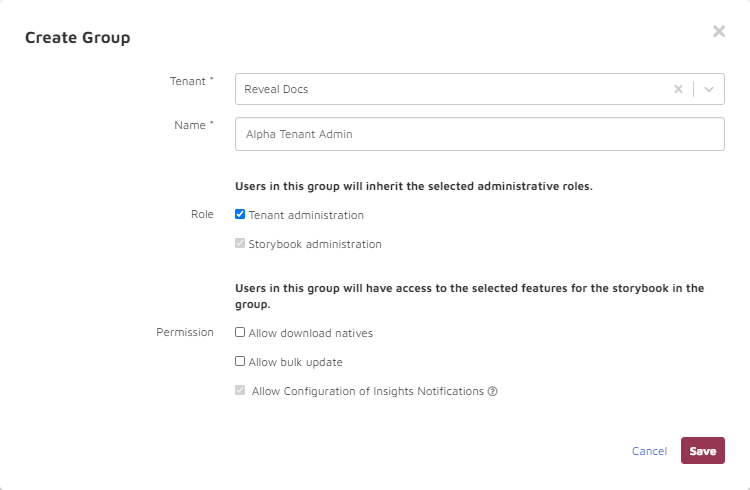
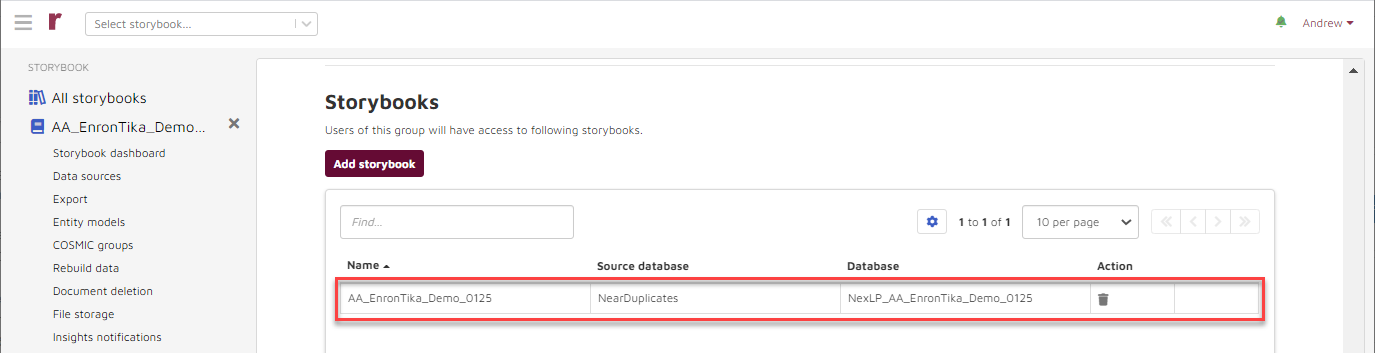
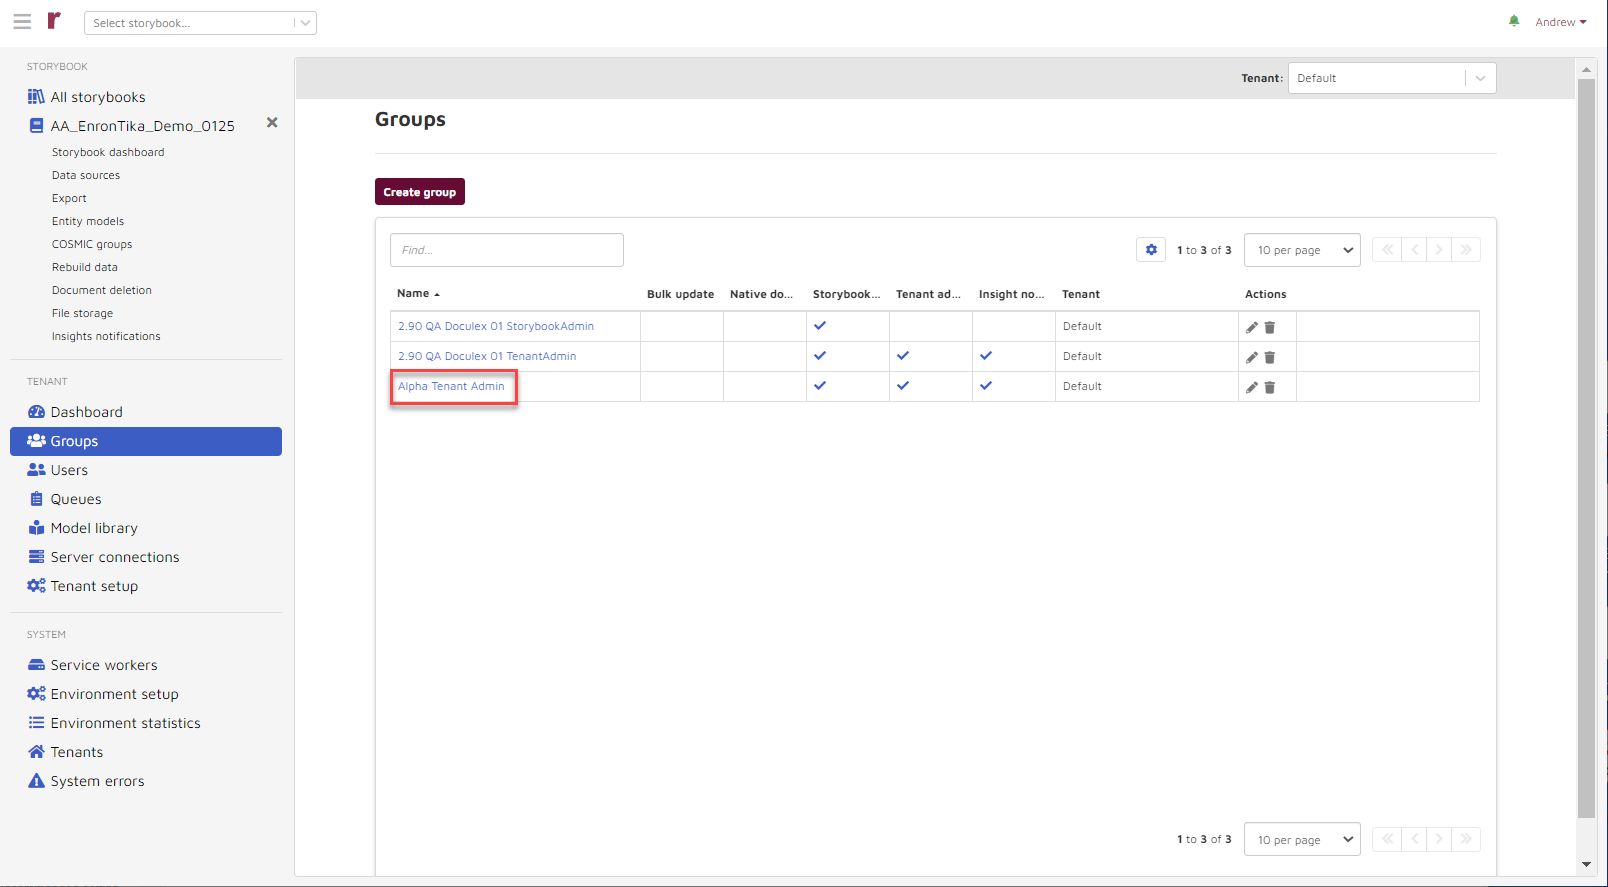
Then choose Save and the following addition to the list appears:

To add a user to the group, choose the group name from the list.
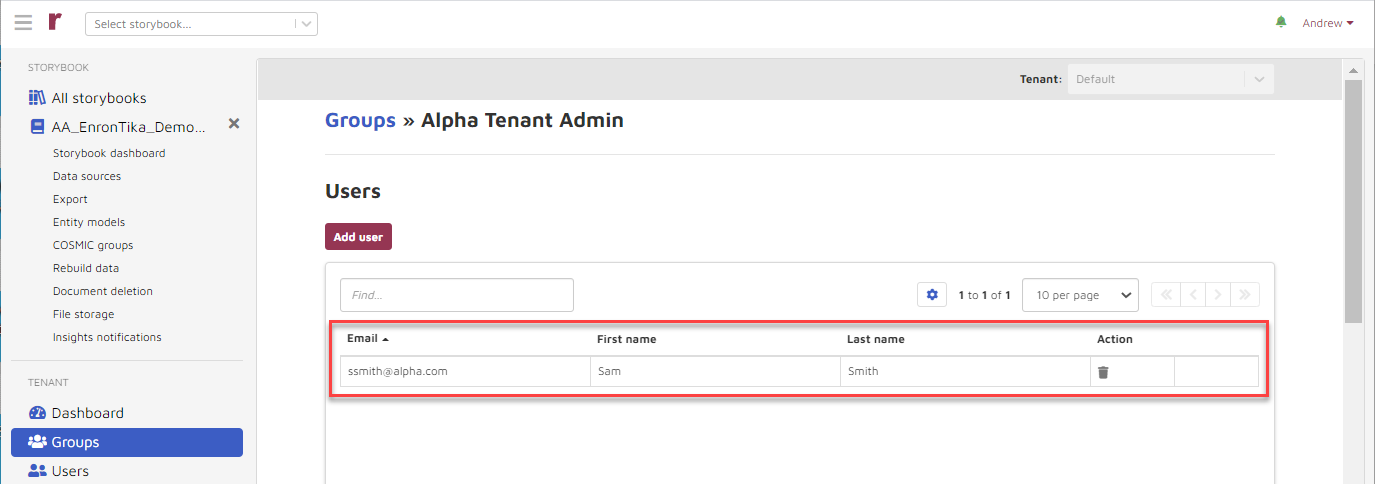
And the group-specific window appears (in this example “Groups >> Alpha Tenant Admin”):
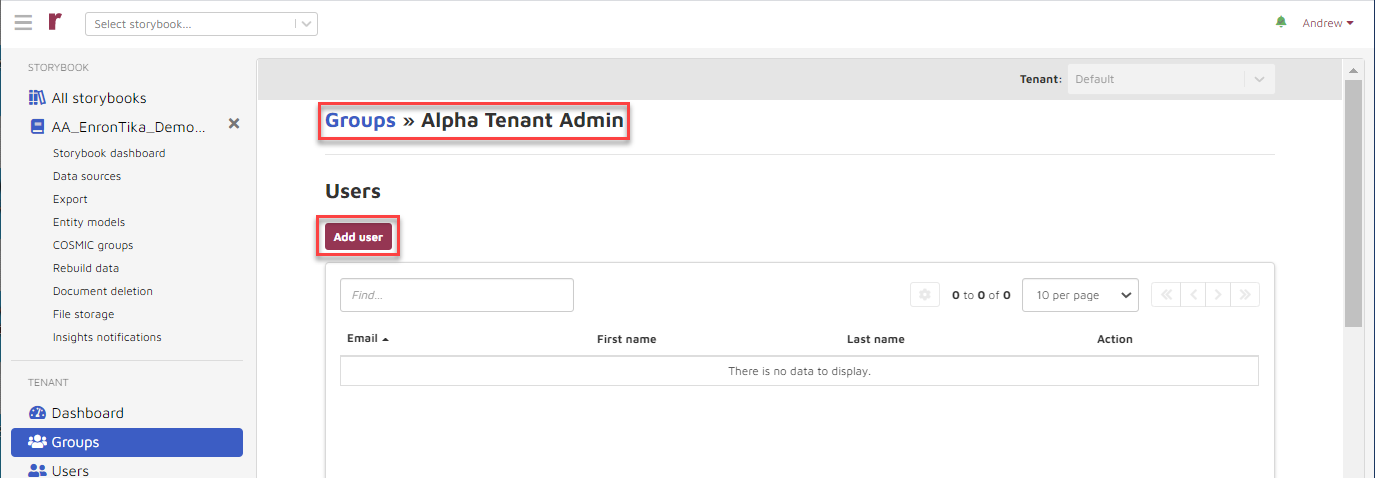
Choose the Add user button and the Add Users to Group window appears. Only the existing storybook users appear in the dropdown.
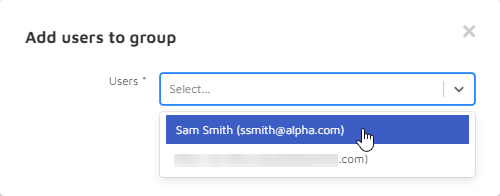
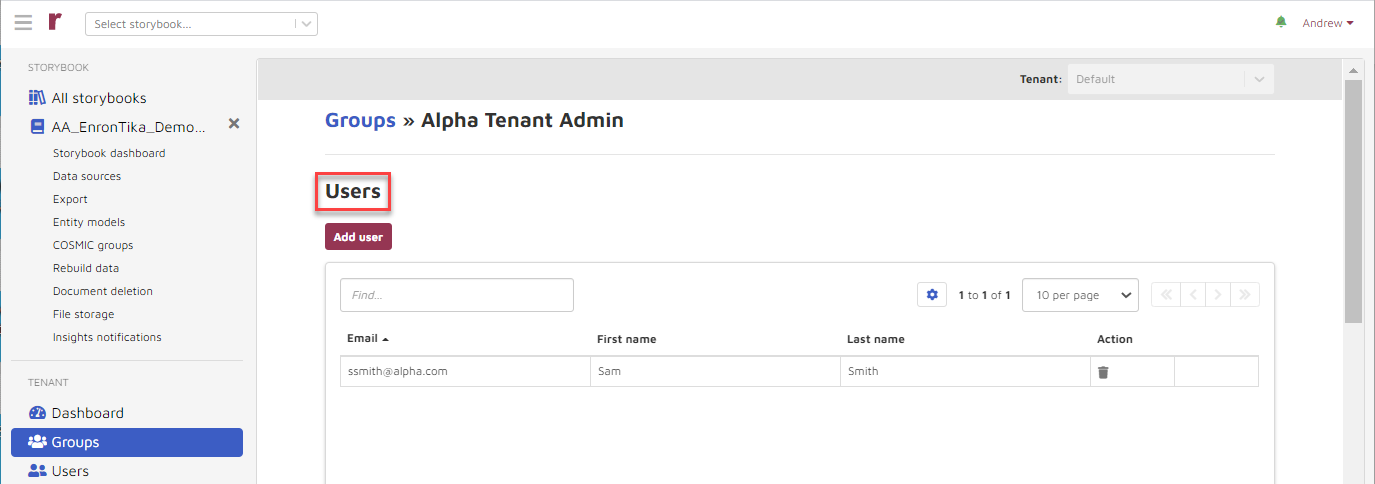
Make your choice and the user appears in the group-specific list:
The group-specific list scrolls through three sections - Users, COSMIC models, Storybooks:


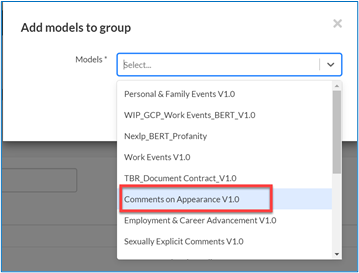
In the COSMIC models section of the group-specific list, choose Add model.

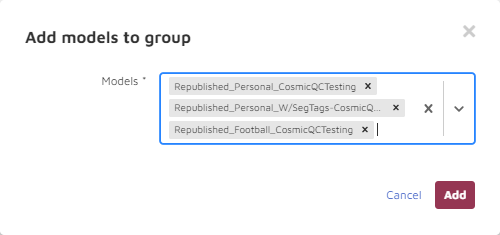
The Add models to group window will appear. Select models from the dropdown list.
Chosen model names will stack and can be individually or collectively removed.
In the Storybooks section of the group-specific list...

...choose Add storybook. Only the storybooks connected to the designated tenant will appear in the dropdown list.

Choose your storybook and it appears in the list: